Getting Started
This section walks through the complete lifecycle of building and publishing your first project in SleekCMS.
By the end, you will:
- Create an organization
- Create a site (from template or blank)
- Define basic models
- Create content
- Publish your first page
- Understand the developer/editor workflow
1. Create an Organization
An Organization (or Account) is the top-level container in SleekCMS.
An organization can contain:
- One or more Sites
- Multiple users
- Role-based permissions
- Shared billing and access control
Think of an organization as your workspace boundary.
2. Create a Site
A Site is where modeling, content, and rendering live.
Each organization can contain multiple sites.
Choose How to Start
Option A --- Start from a Site Template
SleekCMS supports complete, clonable site templates.
A template includes:
- Page models
- Entry models
- Block models
- Option sets
- View templates
- Sample content
- Site configuration
Templates are shared using a clone token.
Every site in SleekCMS can be cloned. Every site is also a template.
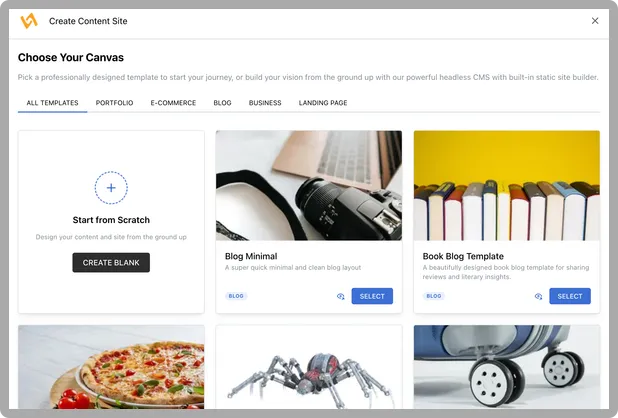
Template selection screen showing multiple ready-to-use site templates
Option B --- Start with a Blank Site
A blank site contains:
- No models
- No content
- No rendering configuration
3. Set Up Basic Models (If Starting Blank)
Create:
- One Page Model (Homepage)
- One Block Model (Hero Section)
- Optional Entry Model (Author)
Create a Block Model (Hero Section)
Example fields:
- Heading (Text)
- Subheading (Text)
- Background Image (Image)
- CTA Label (Text)
- CTA URL (Link)
Create a Page Model (Homepage) (Path / )
Fields:
- Title (Text)
- SEO Description (Text)
- Sections (Dynamic Block field allowing Hero, CTA, etc.)
Optional: Create an Entry Model (Author)
Example fields:
- Name (Text)
- Profile Image (Media)
- Bio (Rich Text)
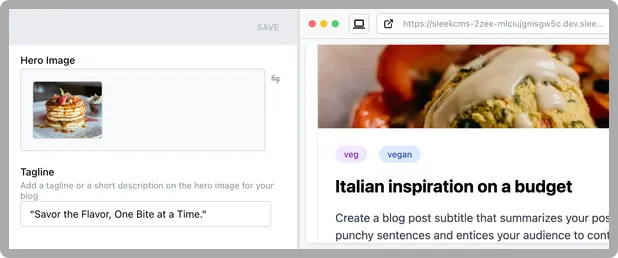
4. Create Your First Page
- Create a new page using your Homepage model.
- Fill basic fields.
- Add blocks to the Dynamic Block field.
- Configure block content.
5. Configure Site Builder (Required for Preview)
To preview or publish rendered pages, configure the Site Builder.
Steps:
- Enable Site Builder.
- Attach a View Template to each Page Model.
- Attach View Templates to Block Models.
- Provide EJS templates.
Example minimal EJS templates:
<!-- views/pages/index.ejs -->
<% title(item.title) %>
<h1><%= item.title %></h1>

<%- render(page.sections) %>
<!-- views/blocks/hero.ejs -->
<h2><%= item.heading %></h2>
Content can exist without rendering. Rendering requires View Templates.
5. Publish
- Preview.
- Add Deploy Targets (Netlify, Vercel, Surge, and more)
- Publish.
Basic Workflow
Model → Create Content → Render
Developer Responsibilities
- Create and maintain models
- Design content architecture
- Configure site templates
- Implement rendering templates
- Maintain structural integrity
Content Editor Responsibilities
- Create and update content
- Assemble pages using blocks
- Manage entries
- Publish content
Summary
You have:
- Created an Organization
- Created a Site (template or blank)
- Defined models (if starting blank)
- Created structured content
- Published a page
SleekCMS enables:
- Intentional content modeling
- Reusable site architectures
- Safe delegation to content teams
- Flexible rendering across environments